We have started our project and set up the default level creating our AudioAnalyzerManager variables to play a track the song. Now we can continue with the User Interface widgets, to display some relevant information like the song title, the current score and some interaction options.
Design and main Level
User interface widgets
Game Actor
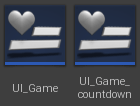
Game Interface
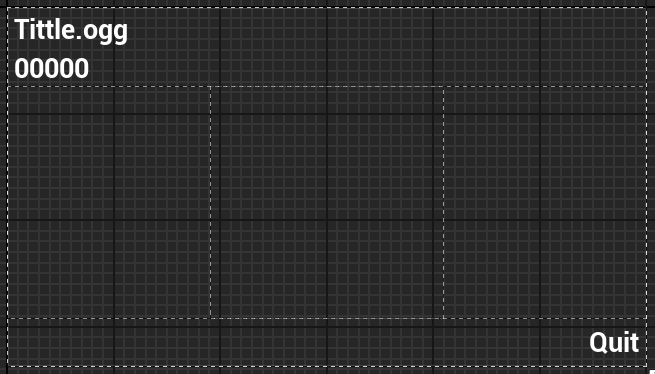
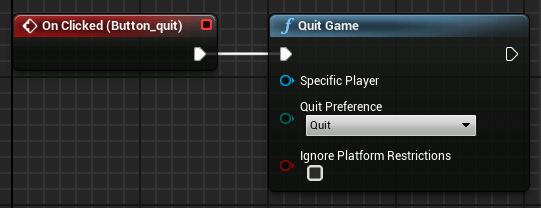
Our game UI will be very simple. We are going to display only the name of the audio file, the score, and a button to leave the game.
To obtain the file name we can use our game instance. The value of the variable must be set before this access.
Countdown widget
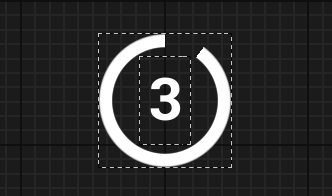
The second widget is a countdown that will be displayed when the game start. The player have a few seconds to be ready.
When the counter reach 0 we need to hide the UI (Remove from parent) and start the audio playback of the game actor. We will use the reference of the game actor stored in the game instance to do the call of Start Audio Playback. We can see the details of this node in the next part of the tutorial.
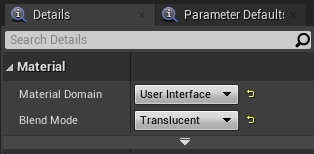
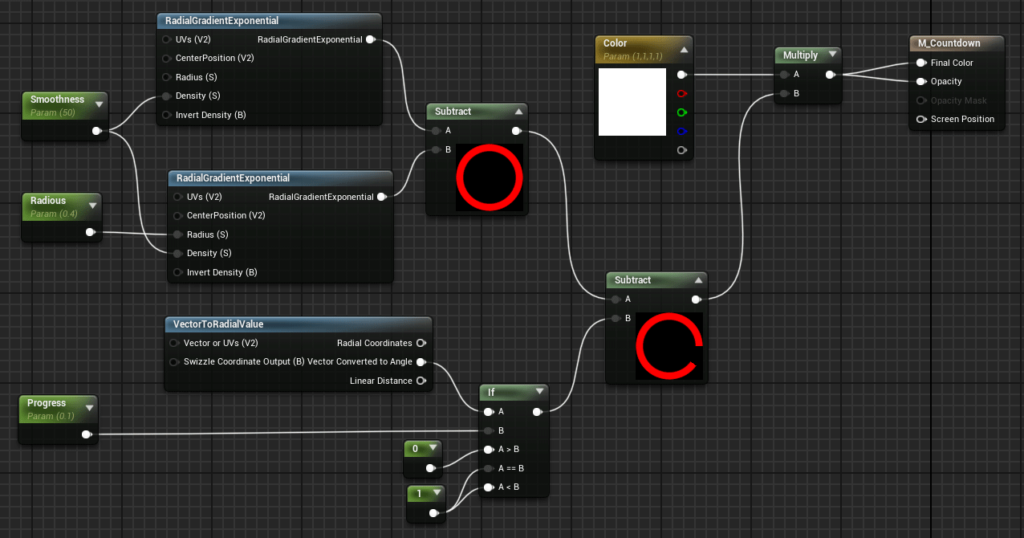
To do the progress bar we will make a material and a scalar parameter to control the progress of the circle. The Material Domain must be User Interface and Blend Mode Translucent to allow transparency in the material.
Using RadialGradientExponential we can draw two circles, the second one a bit smaller than the the first one, and subtract the second to the first one to empty the center zone.
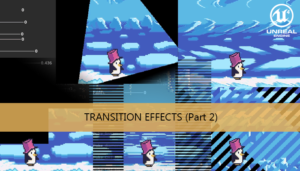
With VectorToRadialValue we can define the second mask to apply to the previous ring, this zone is used to define the progress. We can see more details of this node in an old tutorial about transition effects
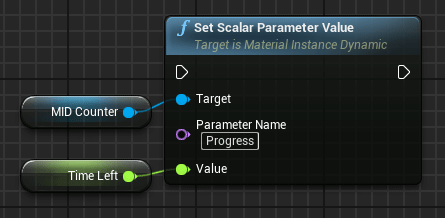
To change the progress of the bar just we need to use Set Scalar Parameter Value and change the Progress variable value of a material instance dynamic.
To obtain a dynamic material instance of an image widget we can use the Get Dynamic Material node and store it in a variable in our countdown widget.
The progress bar complete one cycle on each second, and in the last one hide the countdown widget and start the game. We need to update the progress bar and the counter text using the Event Tick of the widget.

With this modification our user interface is finished, now we can continue with the game actor.
Continued on Part 3: Game Actor
Tutorial files
You may also like:
Support this blog!
For the past year we have been dedicating more of our time to the creation of tutorials, mainly about game development. If you think these posts have either helped or inspired you, please consider supporting this blog. Thank you so much for your contribution!

